

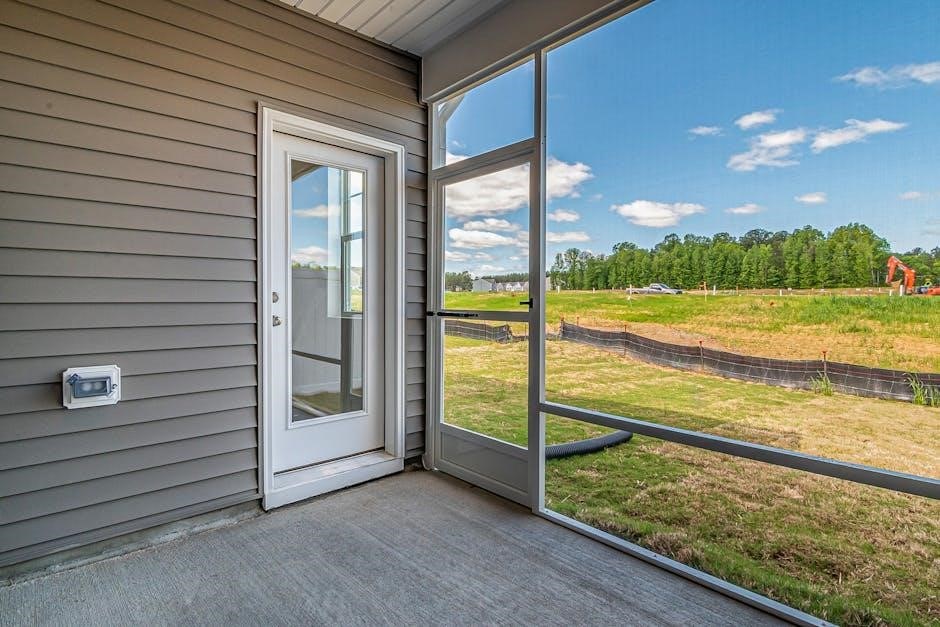
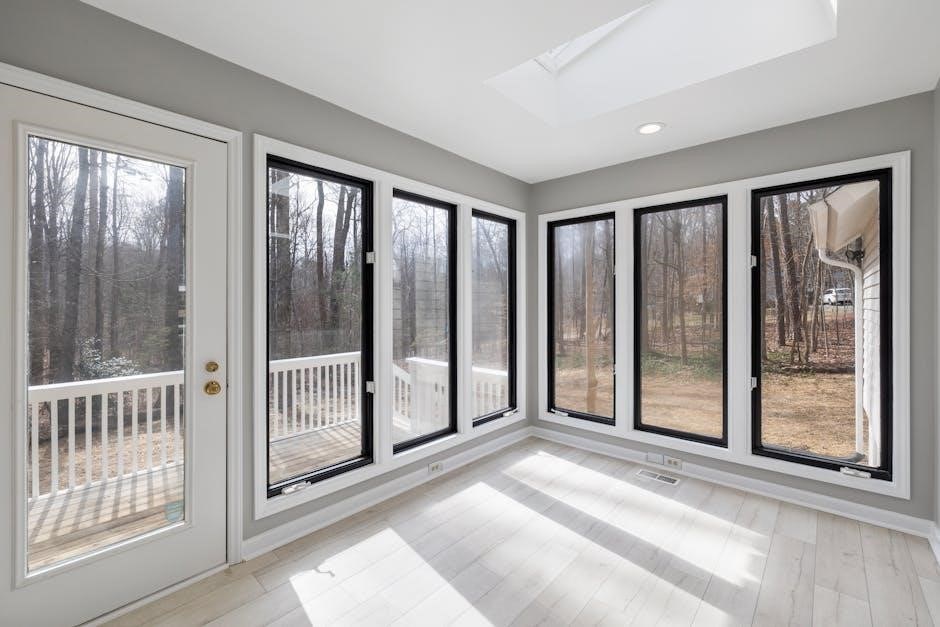
andersen 200 series patio door installation manual
Andersen 200 Series Patio Door Installation Manual: A Comprehensive Plan
This manual guides installers through the process‚ referencing real-time market data like the S&P 500’s performance‚ ensuring a smooth and informed installation experience.
Welcome to the world of Andersen 200 Series patio doors! This series represents a fantastic blend of affordability and quality‚ offering homeowners a stylish and energy-efficient solution for connecting their indoor and outdoor living spaces. These doors are designed for relatively straightforward installation‚ making them a popular choice for both new construction and replacement projects.
Understanding the specific components and installation procedures outlined in this manual is crucial for a successful outcome. Referencing current market indicators‚ like the S&P 500’s daily fluctuations‚ might seem unrelated‚ but highlights the importance of staying informed and adaptable – a principle applicable to any detailed project. This guide will provide step-by-step instructions‚ ensuring a weather-tight and beautifully functioning patio door for years to come.
Safety Precautions & Required Tools
Prioritizing safety is paramount during installation. Always wear safety glasses to protect against debris‚ and work gloves to prevent hand injuries. Be mindful of lifting heavy components – utilize proper lifting techniques or seek assistance. Ensure the work area is clear of obstructions and well-lit.
Essential tools include a level‚ measuring tape‚ drill with various bits‚ screwdriver set‚ hammer‚ utility knife‚ and a caulking gun. A power saw may be needed for rough opening adjustments. Checking financial indices like the S&P 500 won’t aid installation‚ but demonstrates the value of preparation! Waterproofing materials and shims are also critical. Always consult local building codes and follow manufacturer’s instructions diligently.
Unpacking and Inventory of Door Components
Carefully unpack all components‚ checking for any shipping damage. Compare the delivered items against the packing list – a comprehensive inventory is crucial. The Andersen 200 Series patio door typically includes the door slab‚ frame components (head‚ jambs‚ sill)‚ glazing‚ weatherstripping‚ and hardware (handles‚ locks).

Verify the quantity and condition of each part. Note any discrepancies immediately and contact Andersen for replacements. Similar to monitoring the S&P 500 for market fluctuations‚ diligent inventory prevents costly delays. Keep all packaging materials until the installation is complete and you’ve confirmed everything is accounted for. A thorough check ensures a smooth installation process.
3.1 Door Slab Inspection
Begin by carefully inspecting the door slab for any damage incurred during shipping. Look for cracks in the glass‚ scratches on the surface‚ or imperfections in the finish. Check the alignment of the door slab – it should be square and free from warping.
Verify that the correct glazing is installed‚ and that the weatherstripping is securely attached. Much like tracking the S&P 500’s daily close‚ a detailed inspection now prevents issues later. Document any defects with photographs before proceeding. If damage is found‚ contact Andersen immediately to arrange for a replacement slab before starting the installation process.
3.2 Frame Component Checklist
Before installation‚ verify all frame components are present. This includes the side jambs‚ top jamb‚ sill pan‚ and any necessary shims or mounting hardware. Confirm the frame size matches the rough opening dimensions‚ similar to verifying S&P 500 index data.
Inspect each component for damage – cracks‚ dents‚ or missing parts. Ensure the frame is square and level. Check that all pre-drilled holes are clear and properly aligned. A complete inventory‚ documented like financial reports‚ prevents delays. If any components are missing or damaged‚ contact Andersen for replacements before proceeding with the installation.

Preparing the Rough Opening
Proper rough opening preparation is crucial for a successful installation. Begin by ensuring the opening is structurally sound and meets Andersen’s specifications‚ much like a stable market supports the S&P 500. Verify the width and height dimensions are accurate‚ allowing for slight adjustments during installation.

Confirm the opening is square – use a level and measuring tape to check diagonals. Any discrepancies must be corrected before proceeding. Clean out any debris‚ nails‚ or obstructions. Install a sill pan to provide a waterproof barrier‚ preventing water damage‚ similar to protecting investments.
4.1 Accurate Measurements & Squareness
Achieving precise measurements and ensuring squareness are paramount‚ mirroring the importance of accurate data in tracking the S&P 500. Measure the rough opening’s width at the top‚ middle‚ and bottom‚ noting any variations. Similarly‚ measure the height on both sides. These measurements dictate proper shimming and adjustments later.

To verify squareness‚ measure diagonally from corner to corner. The measurements should be equal. If not‚ gently adjust the framing until squareness is achieved. A non-square opening will lead to operational issues and potential air leaks. Prioritize accuracy; it’s the foundation of a successful installation.
4.2 Sill Pan Installation & Waterproofing
Proper sill pan installation is crucial for preventing water damage‚ much like monitoring market fluctuations like the S&P 500 index. Begin by applying a generous bead of high-quality sealant to the sill opening. Carefully position the sill pan‚ ensuring it extends beyond the framing on all sides.
Secure the sill pan with appropriate fasteners‚ and then apply sealant around the perimeter where it meets the rough opening. Pay close attention to corners and seams. Waterproofing is not merely about preventing leaks; it’s about protecting the integrity of the entire installation‚ ensuring long-term performance and durability.
Frame Installation Process
Begin by carefully maneuvering the assembled frame into the prepared rough opening‚ similar to tracking the daily close of the S&P 500. Ensure the frame is plumb‚ level‚ and square – critical for smooth operation. Use shims as needed to achieve perfect alignment‚ securing them firmly in place.
Fasten the frame to the rough opening using appropriate screws‚ ensuring they penetrate into solid framing members. Avoid over-tightening‚ which could distort the frame. Regularly check for squareness throughout the fastening process. A properly installed frame is the foundation for a weather-tight and functional patio door.
Door Slab Installation
Carefully lift the door slab and align it with the installed frame‚ much like monitoring the S&P 500’s performance requires precise observation. Gently guide the slab into the frame‚ ensuring the rollers or gliding mechanism engage correctly. Avoid forcing the slab‚ as this could damage the components.
Once the slab is in place‚ temporarily secure it with shims to maintain alignment. Verify smooth operation and adjust as needed. Proper installation ensures effortless gliding and a secure lock. This step is crucial for long-term functionality and weather resistance‚ mirroring the importance of accurate market data.
6.1 Hinge Alignment & Adjustment
Precise hinge alignment is critical for smooth door operation‚ akin to tracking the S&P 500’s daily fluctuations. Begin by loosening the hinge screws slightly‚ allowing for adjustment. Carefully align the door slab within the frame‚ ensuring consistent gaps around the perimeter. Use shims as needed to achieve proper alignment.
Once aligned‚ tighten the hinge screws incrementally‚ checking for smooth movement after each adjustment. Avoid over-tightening‚ which can bind the door. Fine-tune the hinges until the door swings freely and latches securely. Proper hinge adjustment prevents binding and ensures weather-tight sealing‚ much like reliable market data.
6.2 Strike Plate Installation & Alignment
Correct strike plate alignment is essential for secure locking‚ mirroring the precision needed to analyze S&P 500 index performance. Position the strike plate on the door frame‚ ensuring it lines up directly with the latch bolt when the door is closed. Mark the screw locations carefully.
Pre-drill pilot holes to prevent wood splitting‚ then securely fasten the strike plate. Test the latch operation‚ adjusting the strike plate’s position slightly if needed for smooth engagement. A properly aligned strike plate ensures a tight seal and prevents unauthorized entry‚ similar to dependable financial data.
Glazing Installation & Sealant Application
Proper glazing ensures weather resistance and energy efficiency‚ much like tracking the S&P 500 provides insight into market health. Carefully clean the glazing channel‚ removing any debris or old sealant. Apply a consistent bead of high-quality glazing sealant to the channel‚ ensuring a watertight seal.

Gently install the glass pane‚ pressing it firmly into the sealant. Smooth the sealant bead with a glazing tool‚ creating a clean and professional finish. Inspect for any gaps or imperfections‚ and reapply sealant as needed. This meticulous process guarantees long-lasting performance and protection.
Weatherstripping Installation
Effective weatherstripping is crucial for preventing drafts and maintaining energy efficiency‚ similar to how monitoring the S&P 500 helps assess economic stability. Begin by thoroughly cleaning the door frame and sash where the weatherstripping will be applied. Carefully peel and adhere the weatherstripping‚ ensuring a tight and consistent seal.
Pay close attention to corners and joints‚ pressing firmly to eliminate any gaps. Test the seal by closing the door and checking for air leaks. Replace any damaged or worn weatherstripping immediately to maintain optimal performance. This step is vital for a comfortable and energy-saving installation.
Hardware Installation (Handles‚ Locks‚ etc.)
Proper hardware installation ensures security and smooth operation‚ much like tracking the S&P 500 provides insight into market health. Begin by installing the door handle‚ ensuring it’s securely fastened with the provided screws. Next‚ install the locking mechanism‚ carefully aligning the strike plate with the bolt.
Test the lock functionality multiple times to confirm smooth engagement and disengagement. Adjust the strike plate if necessary for optimal performance. Finally‚ install any additional hardware‚ such as security features or decorative elements. Tighten all screws securely‚ but avoid over-tightening to prevent damage.
Adjustments and Operational Testing
Thorough testing is crucial for a properly functioning door‚ mirroring the constant monitoring of financial indices like the S&P 500. Begin by checking for smooth gliding action; adjustments to the rollers may be needed. Ensure the door latches securely in both open and closed positions.
Verify the lock mechanism operates flawlessly‚ similar to reliable market data. Inspect weatherstripping for complete sealing‚ preventing drafts. Address any binding or resistance promptly. Finally‚ conduct multiple full operational cycles to confirm long-term reliability and a secure‚ weather-tight seal.
10.1 Smooth Operation Checks
Begin by slowly sliding the door across its entire range of motion‚ observing for any binding‚ resistance‚ or uneven movement – akin to monitoring the consistent performance of the S&P 500. Check roller operation; they should move freely within the track.
Listen for unusual noises during operation. If resistance is detected‚ inspect the track for obstructions or misalignment. Adjust rollers as needed to ensure a fluid glide. Repeat the process several times‚ verifying consistent smoothness. A properly installed door should operate effortlessly‚ reflecting precision and quality.
10.2 Lock Functionality Verification
Engage the lock mechanism from both the interior and exterior‚ confirming a secure and positive lock. Similar to tracking the S&P 500’s daily close‚ verify the lock engages fully without excessive force. Check for proper alignment of the locking points with the strike plate; any misalignment can compromise security.
Cycle the lock several times‚ ensuring consistent operation. Test the key operation (if applicable)‚ confirming smooth insertion‚ turning‚ and removal. Inspect the handle operation‚ verifying it retracts the latch smoothly. A properly functioning lock is crucial for security and peace of mind.
Flashing and Exterior Sealant Application
Proper flashing is paramount to prevent water intrusion‚ much like monitoring the S&P 500 for market fluctuations requires diligent observation. Install flashing around the door frame‚ overlapping correctly with the weather-resistant barrier of the building. Ensure complete coverage of all potential water entry points.
Apply a high-quality exterior-grade sealant around the perimeter of the door frame‚ creating a watertight seal. Smooth the sealant for a professional finish. Regularly inspect sealant‚ similar to tracking index performance‚ for cracks or deterioration. This step safeguards against moisture damage and maintains energy efficiency.
Interior Trim Installation
Begin by measuring and cutting the interior trim pieces to fit snugly around the door frame‚ mirroring the precision needed to analyze S&P 500 data. Apply adhesive to the back of the trim and carefully position it against the frame‚ ensuring a flush and even fit.
Secure the trim with finishing nails‚ countersinking them for a clean appearance. Fill nail holes with wood putty‚ sand smooth‚ and prime the trim before painting or staining. This final touch enhances the door’s aesthetic appeal and provides a polished‚ finished look‚ much like a well-maintained financial portfolio.
Troubleshooting Common Installation Issues
If the door slab binds during operation‚ check hinge alignment and adjust as needed‚ similar to monitoring fluctuations in the S&P 500 index. For air or water leaks‚ inspect weatherstripping and sealant application‚ ensuring a complete seal. Misaligned strike plates can cause locking difficulties; adjust for smooth engagement.
Uneven gaps around the frame may indicate an out-of-square rough opening – shim appropriately during frame installation. If glazing issues arise‚ re-seat the glass and reapply sealant. Addressing these common problems promptly ensures optimal door performance and longevity‚ mirroring proactive portfolio management.

Warranty Information & Registration
Andersen offers a comprehensive warranty on its 200 Series patio doors‚ covering defects in materials and workmanship‚ much like tracking the long-term performance of the S&P 500. This warranty is subject to proper installation and adherence to maintenance guidelines. To activate your warranty‚ online registration is required within 30 days of installation.
Proof of purchase and installation date are necessary for claims. Failure to register may limit warranty benefits. Detailed warranty documentation‚ including specific coverage details and limitations‚ is available on the Andersen website. Protect your investment by completing the registration process promptly.
Maintenance and Care Guidelines
Regular maintenance ensures optimal performance and longevity of your Andersen 200 Series patio door‚ similar to consistently monitoring market indices like the S&P 500 for stability. Clean the door surfaces with mild soap and water‚ avoiding abrasive cleaners. Inspect weatherstripping annually and replace if damaged.
Lubricate rollers and tracks periodically with silicone-based lubricant. Check and tighten hardware as needed. Avoid harsh chemicals or solvents. Proper care prevents operational issues and maintains the door’s aesthetic appeal. Following these guidelines will help preserve your investment for years to come.

Andersen 200 Series Door Specifications
The Andersen 200 Series doors offer diverse configurations‚ mirroring the varied components of a financial index like the S&P 500. Available sizes range from 5’ to 8’ in height and various widths‚ accommodating most rough openings. Frame material is typically vinyl‚ providing durability and low maintenance.
Glass options include Low-E‚ tempered‚ and insulated glass for energy efficiency. Doors are designed for easy operation and weather resistance. Detailed specifications‚ including weight‚ dimensions‚ and performance ratings‚ are available in accompanying documentation. Always refer to the specific product label for precise details.
Contact Information for Support
For immediate assistance with your Andersen 200 Series patio door installation‚ mirroring the real-time data access of financial indices like the S&P 500‚ contact Andersen’s customer support. Phone support is available Monday-Friday‚ 8 AM to 6 PM Central Time‚ at 1-800-328-5577.
Alternatively‚ visit Andersen’s website at www.andersenwindows.com for FAQs‚ installation guides‚ and troubleshooting resources. You can also submit inquiries through their online contact form. For warranty claims or complex issues‚ a dedicated support team is available to assist. Ensure you have your product information readily available when contacting support.